-

Leave this to me, Commander Anna! I'll go into the forest and draw our foes out of hiding!
-

Wait up, Sharena! If you go charging in like that, you'll be surrounded!
-

What's more, some of them are carrying axes! For a spear-user like you, that's bad news!
-

Oh no! I'm sorry, Anna, but I've already moved!
-
Don't panic! I'll use Reposition to get you out of harm's way and fix our formation! Here goes!
-

*sniff* Thank you so much! I promise that from now on, I'll always check the danger area before I make my move!
Tip 1: Gauge Your Foes' Mobility
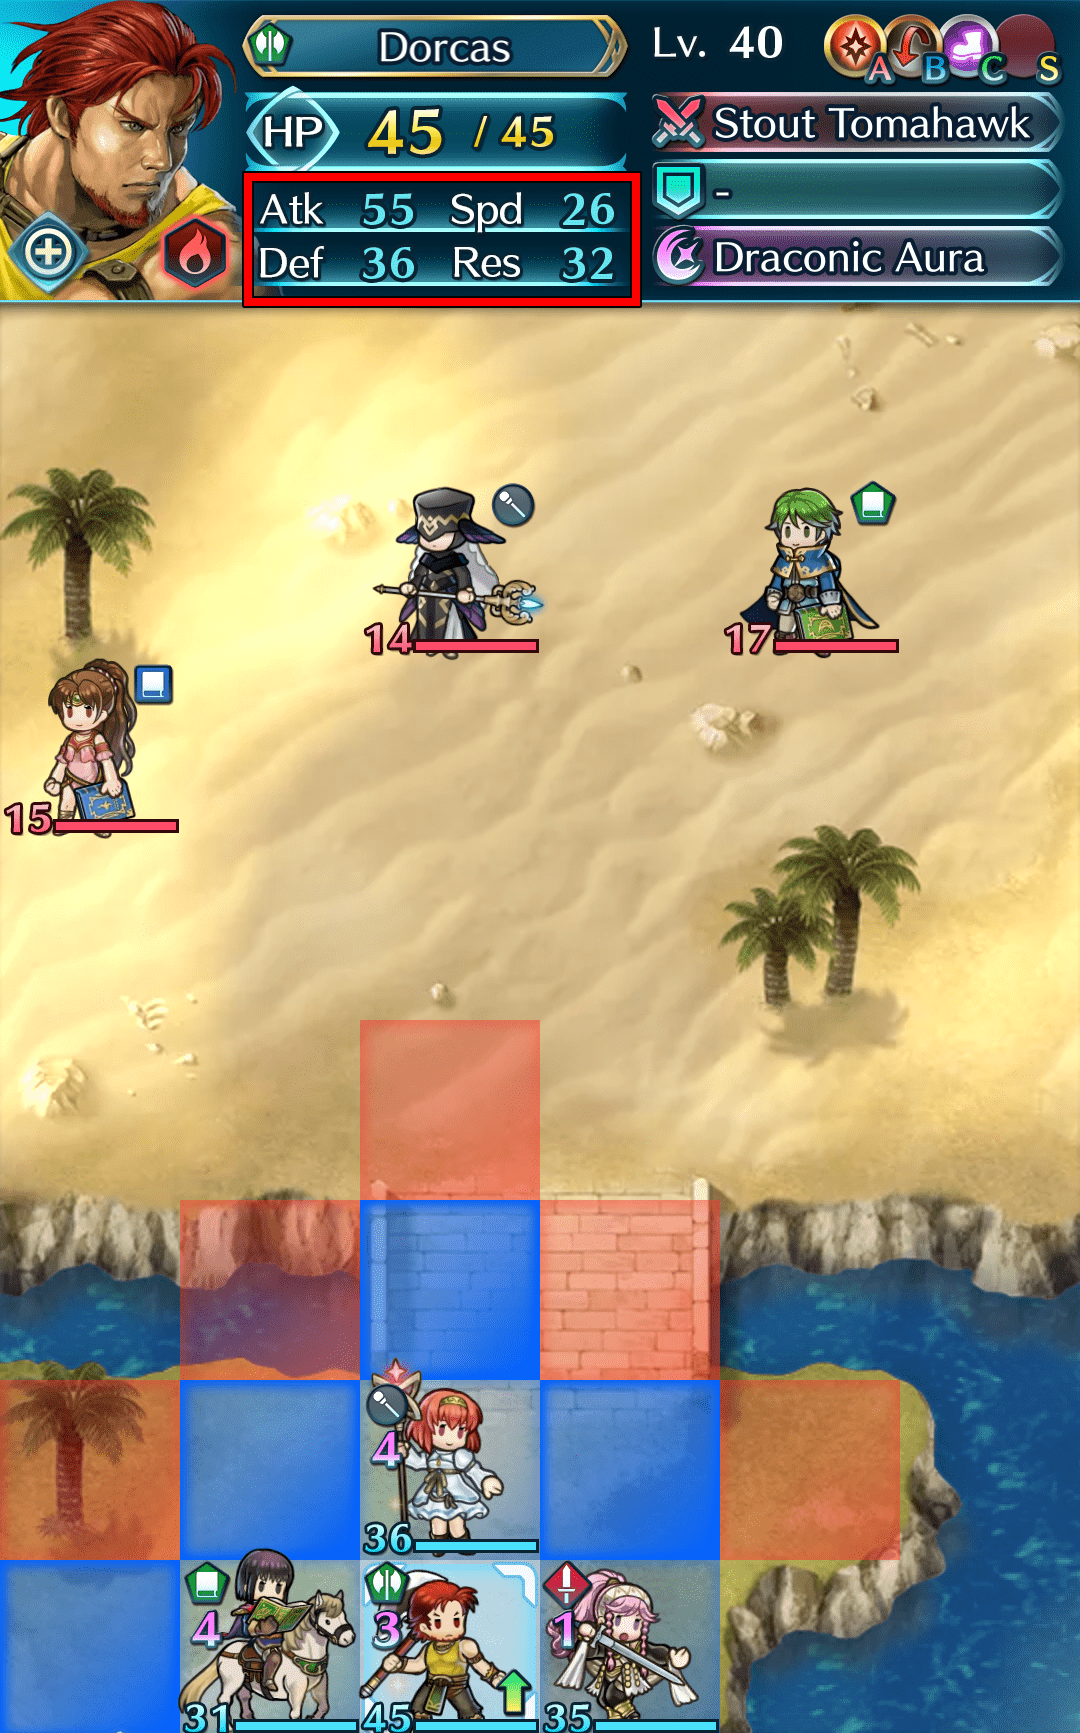
Position your allies so that you'll have favorable match-ups when enemy units are close to engaging your team. If you can't make a favorable match-up, you can still reduce the risk of heavy damage by using allies of the same type as your foes, or colorless allies.
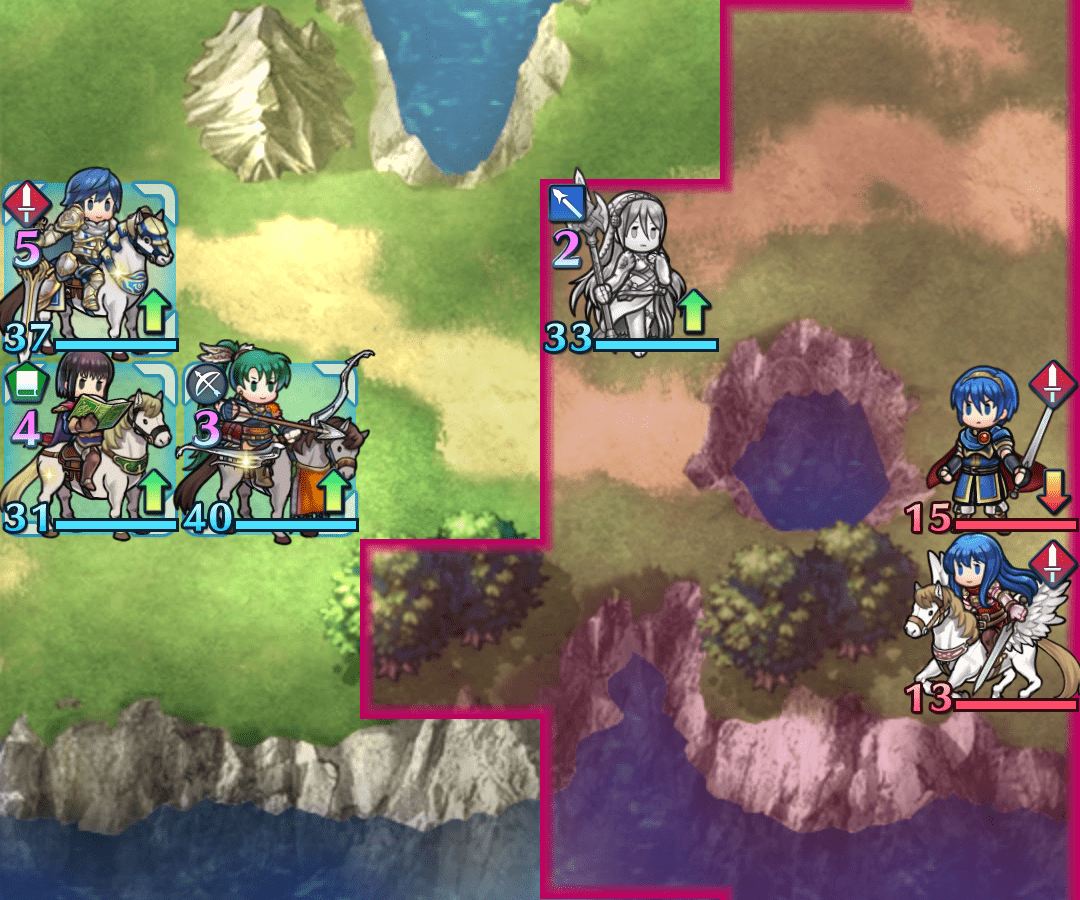
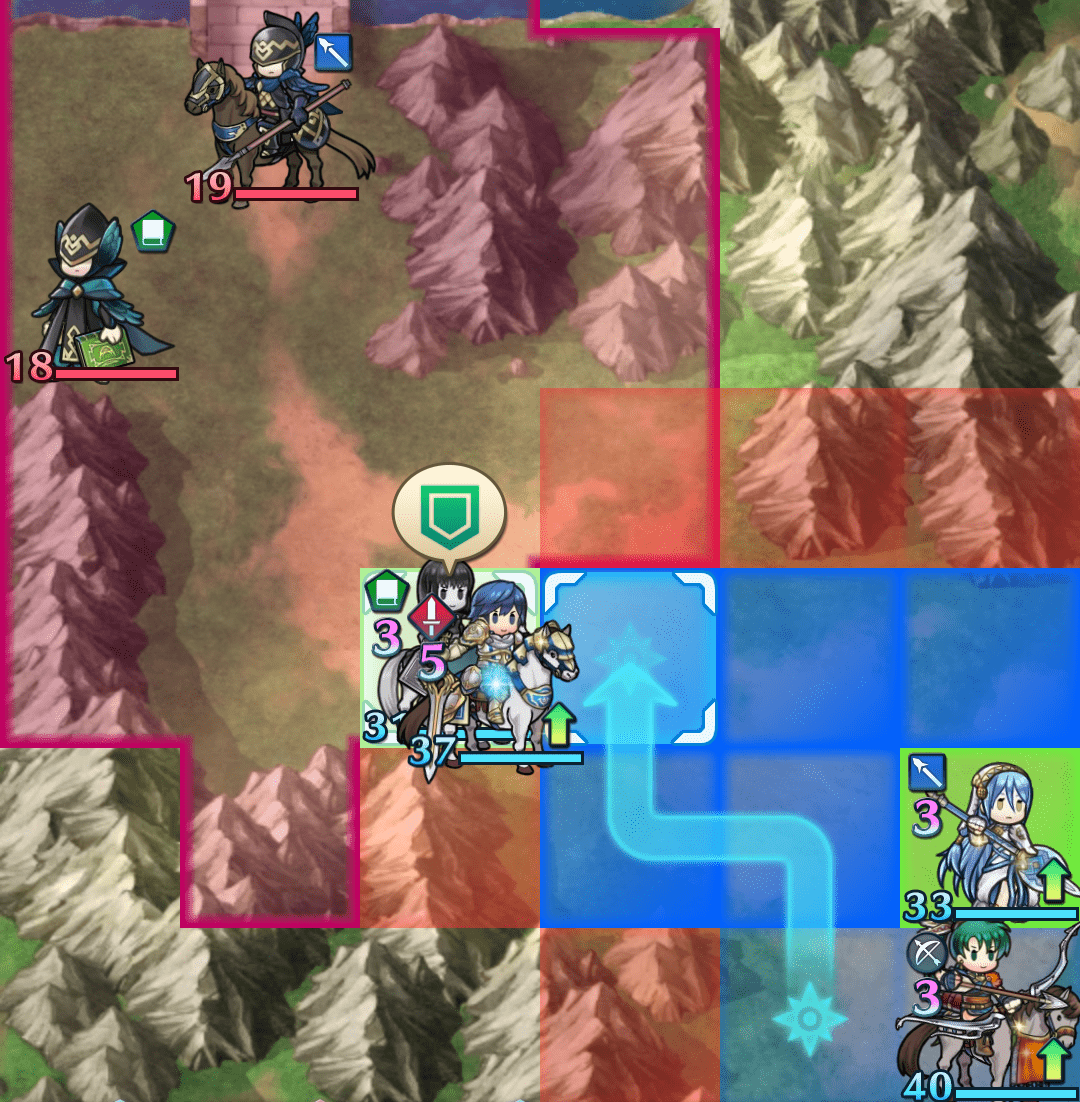
Tip 2: Avoid Taking Attacks from Multiple Foes
Pay close attention to the danger area and make absolutely sure that you don't leave one of your allies at the mercy of several foes. If you do have an ally in danger of being attacked by a group of foes, you can use Reposition or Draw Back to move that ally to somewhere safe and re-establish your formation—a tactic that's equally useful when you're trying to lure foes out. You'll also find skills that allow allies to act again, like Sing or Dance, are very useful in these situations.
Tip 3: Know Your Allies' Strengths
Hone/Fortify-type skills will prove invaluable, as they will buff your allies' stats at the start of a turn. For example, you can surround your star attacker with several buffing allies to pile on different buffs at the start of the turn. And if your star attacker is out of reach of your allies' buffs, you can simply re-establish your formation to ensure they're ready to receive buffs at the start of the next turn.